
Since Google Optimize was turned off in 2023, VWO has cemented its position as one of the most popular A/B testing tools. As Optimize was among the only (good) free A/B testing tool, VWO have responded by offering a free tier.
Introduction to VWO
VWO is the flagship product of Wingify, the brainchild of online marketing strategist Paras Chopra.
Wingify’s main aim is “to make website optimization tools which produce results without requiring a degree in rocket science” (Chopra’s words, not mine). In short, VWO is A/B testing for the masses of would-be CROs who aren’t too gifted at the technical side of things.
But don’t think that mission statement hampers VWO’s functionality any. Indeed, If anything, it’s quite the opposite.
With that in mind, let’s get into the most detailed review of VWO available on the interwebs.
VWO Testing Ability
First up, let’s take a look at each of VWO’s test abilities, one by one.

When you navigate to the Create Test tab in the menu, this is the dashboard you’re hit with. It’s a launch screen of sorts that allows you to select your desired test type. A feature worth noting is the progress bar in the top right-hand corner that shows a bar that displays how much headway you’ve made in the test creation process.
Here are the available test types:
- A/B testing.
- Multivariate testing.
- Split testing.
- Geo-behavioural targeting (pretty much the same thing as A/B & multivariate testing, so we won’t cover it).
- Usability testing.
- Heatmaps & clickmaps.
A/B Testing
No doubt, the most basic feature of any conversion testing tool is A/B testing.
After selecting A/B test from the launch screen, you’re taken to step 2, where it’s time to enter in the URL you want to test. Besides manually keying in the address, you can also select one of your three most frequently tested URLs automatically displayed under the URL entering bar.

After entering your URL and selecting “Create”, the background will be grayed out while the webpage loads … courtesy the hamster-powered servers.

Once those hamsters have finally run their legs and generated enough power, the webpage you chose will be displayed.
In design mode, by hovering your mouse over a specific element (a navigational menu item, for example), you can edit its HTML, clone it, rearrange/move/resize it, etc.

In browser mode, you can click through your webpage and browse it as a normal front end visitor would. For instance, you can customize a checkout page by turning on browse mode and clicking on a buy now button that generates a unique URL for every order when clicked, then turning design mode back on and editing the elements of the checkout page.
For an A/B/C/D/etc. test on a single page element, you can add as many variations as you’d like. Additionally, certain high-ticket VWO packages (we’ll get into the plans & pricing at the end) allow you to edit mobile and tablet display as well.
Personally, I believe that choosing the responsive display type you want to test is a feature that should be integrated even in the entry level packages, as it’s such a crucial feature for ecommerce websites heavily reliant on mobile traffic.
After editing your variation(s), click on “Next Step” to go to step 4, where you create a conversion goal. Multiple goals can be added/deleted. However, one goal has to be selected as the primary one for the test, which will be the most prominent feature in your test reports.

At the final step, you can write up a test name and a few notes for your test (your hypothesis and conversion rate goals, for instance). Additionally, you can change the test URLs, customize the percentage of traffic to be included in the test, and add traffic segments & visitor conditions.

Clicking on “other settings” will open up a lot more advanced options, including test scheduling, automatic losing/winning variation enabling/disabling, heatmaps, and much more.
It’s quite safe to say that VWO excels in their A/B testing. The UI is so intuitive and straightforward, it took me less than five minutes to get the hang of things.
Multivariate Testing
Multivariate testing is A/B testing on a broader scale. You’re still testing only one page, but you’re testing more than one page element.
Steps 1 & 2 in the process of setting up a multivariate test is identical to that of an A/B test. Step 3 is where it gets interesting. You can click on and customize an unlimited number of page elements.
As you edit each element, a new section is created under your list of controls and variations. Furthermore, you can also add a custom CSS or Javascript section to each variation.

After creating your test variables, you can head to step 4 to enter in your goals, and then finally step 5 to setup traffic segments, heatmaps, and other options (same screens as with the A/B test procedure).
Like the A/B testing procedure, the UI was again very straightforward and easy to navigate. Editing and engineering new test variables was a breeze. Rack up another brownie point for VWO.
Split-Testing
Unlike A/B tests, a split test allows you to split incoming traffic to a specific URL and segment it into 2 or more other pages. So instead of showing variations of the same page, you’re displaying separate webpages with separate URLs to equal portions of traffic.
Step 2 allows you to enter in the URL of the control page (from where traffic will be diverted), and in step 3 you can plug in the URLs of the competing pages (to where the diverted traffic will go).
Step 4 takes care of your goals and step 5 your advanced settings, test name & description, and traffic segmentation.
Again, this tool is unbelievably simple to use. Setting up a split test literally too me no more than 60 seconds.
Usability Test
The key to an engaging website (and ultimately, more conversions) is your website’s usability.
If it isn’t clear exactly what you want your visitors to do on your website, then you really can’t expect the majority of them to convert.
Most webmasters approach their own website usability with predefined bias — after all, they built/own it. To you, it’s probably very clear what should happen. But to your visitors? Perhaps not, and that could be costing you dear in conversions.
Fortunately, there’s a route you can take to find ways to improve your website usability: by asking a front end visitor.
The cool thing about VWO is its ability to run visitor surveys on your website.

With the usability test tool you can create a new question to ask your visitors. It’s a one step process. Set the page URL, number of people to ask, select whether or not you display adult content, and segment your traffic according to location. Lastly, enter in the question text (you can create your own or choose from 21 sample questions) & type (text vs. multiple choice), and save & run your test.
This feature isn’t free, however. You’ll have to pay to display the survey and get the feedback. It’s quite pricey to, at $1 per credit (1 credit = 1 response). For me, that was a very disappointing drawback.
The usability test ability had been quite promising and would have definitely figured as one of my favorite features until it started flaunting such a hefty price tag. You’ll have to decide for yourself whether the feedback is worth it.
Along with the usability test comes a sample report, which looks something like this.

Heatmaps & Clickmaps
A nifty new test that’s been gaining traction with webmasters over the past few years, heatmaps and clickmaps are now almost essential to optimizing your site.
A heatmap helps you visualize how your visitors are scrolling on your site, how engaged they are on each section of the page, and till where they scroll.
A clickmap helps you visualize where your visitors are clicking on your site (with a clickmap on VWO, you can view exactly how many clicks each element on your website gets). This data is invaluable — it tells you if your call to action button should stand out more, if certain links are confusing your visitors, etc.
Creating a new heatmap and clickmap with VWO is as easy as entering the map’s URL in step 1 and customizing a few advanced settings and segmenting traffic in step 2.
Overall, VWO offers a wide range of tests — you’ve got your basic A/Bs and split tests, and then you’ve also got advanced geo-targeting, usability testing, and user navigation mapping.
Conversion Tracking
Setting up conversion tracking for a website or specific webpage outside of any test is a cinch as well. Just enter in the desired URL, specify the conversion goal, configure test settings and you’re all done.
VWO Integrations
Aside from built-in capabilities, any tool that claims top spot in a niche needs to be compatible with complementary products as well.
VWO doesn’t shirk in this department either, being fully compatible with several web analytic tools:
It also integrates with popular shopping carts Big Commerce and Magento, besides having developed plugins for the top 3 open-source content management systems: WordPress, Drupal, and Joomla.

In short, if you’re planning to use VWO alongside other webmaster tools, rest assured that full compatibility is provided.
VWO Reports & Tracking
One of my personal pet peeves (and this goes for any plugin or tool I use) is the need for comprehensive tracking. Not only does it need to be powerful, but the reporting must be readily available for viewing — I shouldn’t have to click through 5 different times just to see how one A/B test is performing.
Can anyone identify with me?
If so, then you’re bound to love VWO’s reports.
Once you’re logged in and at the dashboard, literally no more than one click is necessary to view any report you want, thanks to the intuitive navigational megamenu. All in one mouse rollover, you can view and click on any type of report you want.

For example, by hovering over the Reports menu tab, a drop down will appear, prompting me to select the type of test report I want to view: running, ready to start, or paused tests. Hovering over any category of test will display another drop down displaying the names of all the tests.
One click, and I’m where I want to be.
Alternatively, you can just straightaway navigate to a dashboard that displays a quick glance at all your tests.
Viewing Individual Test Reports
Let’s take a look at the report for an individual test. In this instance, I’ve chosen a test that is currently being run.
Although no results have been generated yet, it’s easy to see at a glance the important information: the number of total visitors, number of conversions, conversion rate, number of variations active, and number of goals being tracked are displayed in large fonts on a grey strip.
To the right of the grey strip is a screenshot preview of the page being tracked along with an icon that indicates what type of test is being run (in this case, a split URL test).
Below the grey strip is a summary that tells you the individual conversion rate of the control and the variation. On the very right of each table is a wrench icon. Click on that to display a drop down that gives you quick links to preview the control/variation, disable the variation, or select the variation/control to be used as the base factor in percentage conversion rate change calculations.
At the top right, there are quick options to delete, pause, or stop the test and/or flush the data and clone the text.
Furthermore, there’s a toolbar below the test name that allows you to view a more detailed report complete with filterable charts & graphs, preview the control & variation(s), see the heatmaps, view or edit the test details, and add/remove the VWO code snippet.
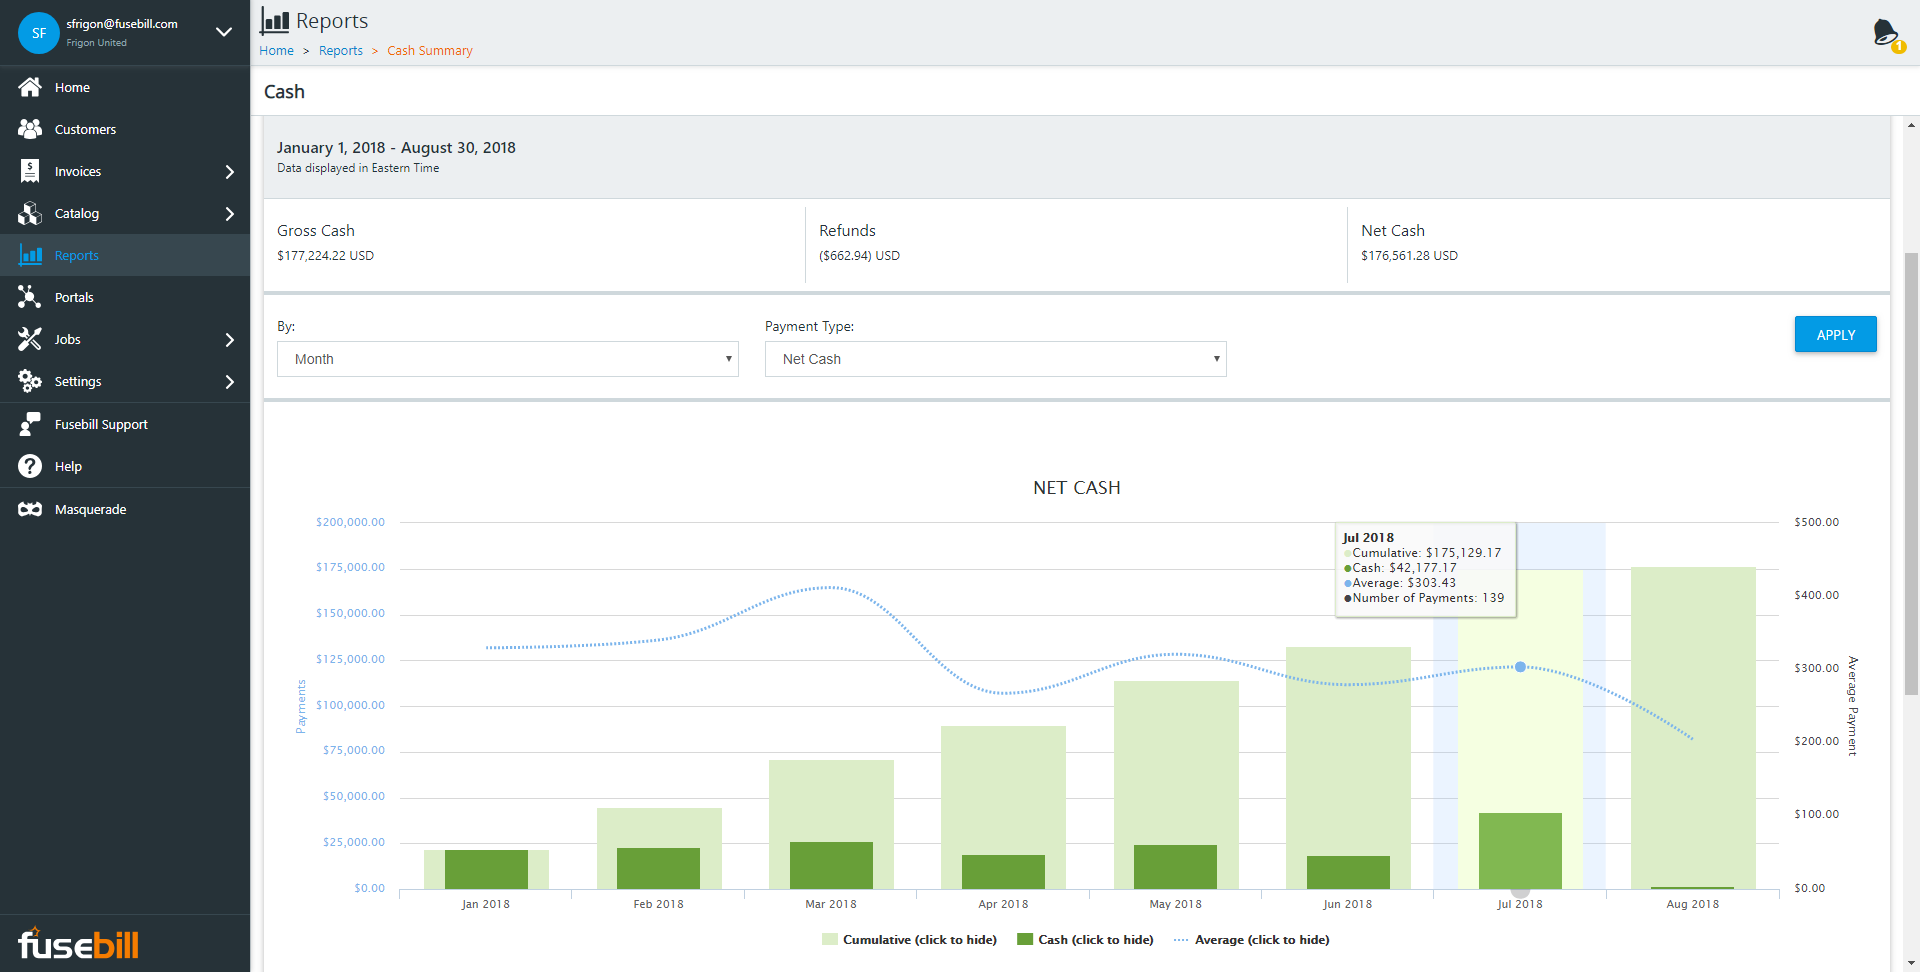
Here’s a series of screenshots that depicts what each report looks like.


![]()
![]()
Lastly, here’s what the list of tests reports looks like (Reports > All Tests).

Overall, a very extensive set of reporting — as much as you could want, then some more.
VWO Tools
VWO comes packaged with a set of tools, including:
- a landing page analyzer
- A/B ideafox (a library of case studies and A/B test reports — absolutely invaluable!)
- a test duration calculator
The landing page analyzer is just amazing. Navigate to the Tools > Landing Page Analyzer tab, enter in the URL of your landing page, and VWO will take you through a series of questions (21 to be exact) that will help you to analyze each aspect of your landing page.

Based on your answers (I don’t have to remind you to be truthful!), the analyzer will give you a report detailing how well you did on each aspect — relevance, motivation, call to action, distractions, and hesitations — along with ideas on what you can fix.
It’s absolutely incredible.

The A/B ideafox page — a collection of A/B test reports and case studies done by VWO reports — is an indispensable resource as well. In the past week itself I’ve browsed at least through 20+ of them.
The page even allows you to filter case studies by industry and conversion goal.

Lastly, the test duration calculator allows you to get an approximation of how long your test will run before it nets the desired result. The calculator takes in the following factors…
- existing conversion rate
- expected conversion rate increase
- combinations (sections x variations)
- average number of daily visitors, and the percentage of visitors to be included in the test
… and spits out an estimated test duration instantly when you click the Calculate Test Duration button. Neat, huh?
VWO Pricing Plans
With all that bang, you’re probably thinking that VWO commands a hefty buck. Not so.
Yes, the tool isn’t overly cheap, but it also isn’t outrageously expensive. Compared to the ROI (in terms of improved conversion rate) you’ll no doubt get when you use this tool, VWO is priced quite fairly.
VWO offers a free trial, five predefined plans, and an advanced plan that will require a custom quote.
In all paid packages, you get:
- unlimited simultaneous tests
- the full suite of features, integrations and testing functionality listed in this review
- email support
The free trial lasts for 30 days and allows you to test a maximum of 1000 visitors — more than enough for you to get the hang of things and decide whether or not you like the tool.
All in all, VWO offers very competitive pricing for CROs at every level of the game.
Wrapping Up
If you’re serious about conversion rate optimization and you have a mind to leave the limited capabilities of Google Content Experiments for a bigger and better CRO tool, you just can’t go wrong with VWO.
It’s got great functionality, a long list of features, easy integrations, and fair pricing. With a large, ever-growing customer base crowded with positive testimonials, VWO is slowly but surely becoming the industry standard tool for CRO.
Your thoughts? Got any questions about how VWO works? Let us know in the comments!
FAQ
VWO (Visual Website Optimizer) is a conversion rate optimisation platform that allows you to run A/B tests, multivariate tests, and split URL tests on your website without requiring code changes. Since Google Optimize shut down in 2023, VWO has become one of the most widely adopted alternatives for businesses looking to test and optimise their digital experiences.
Yes, VWO offers a free tier with limited functionality following Google Optimize’s discontinuation in 2023. The free plan allows you to run basic A/B tests, though you’ll have restrictions on the number of tests, visitors, and features compared to paid plans.
VWO’s pricing varies depending on your monthly visitor volume and the features you need, with plans starting from their free tier and scaling up through paid options. The exact cost depends on which testing capabilities you require and how much traffic you’re analysing, so you’ll need to check their pricing page for a custom quote based on your specific needs.
Yes, VWO includes path analysis reporting capabilities as part of its analytics and tracking features. This allows you to visualise and understand the user journeys across your website to identify where visitors drop off and optimise accordingly.
VWO integrates with a wide range of third-party tools and platforms including analytics software, CRM systems, and marketing automation platforms. The specific integrations available depend on your plan tier, with more comprehensive integration options available on higher-tier subscriptions.
VWO occasionally offers discounts and promotional pricing, particularly for annual subscriptions or longer-term commitments. It’s worth contacting their sales team directly or checking for any current promotional offers, as discount availability varies by region and plan type.
VWO supports multiple testing methodologies including A/B testing, multivariate testing, and split URL testing. This range of testing options allows you to experiment with different elements of your website—from simple two-variant tests to complex experiments involving multiple page elements simultaneously.
Since Google Optimize was discontinued in 2023, VWO has become the primary alternative for teams previously using Optimize. VWO offers more advanced features and a dedicated free tier specifically designed to replace Optimize’s functionality, making it the natural choice for businesses seeking a comparable tool.


